How to make natural tie-dye with food

Looking for a fun summer project? You might’ve just found it with natural tie-dyeing! Playing with my food has never been funner, tbh.
When I visited my sisters last month, they wanted to try some tie-dyeing. We used a store-bought kit the first time, which was super easy and gave us vibrant colors. We had so much fun, we decided to try some more dyeing using food to see how it compared.
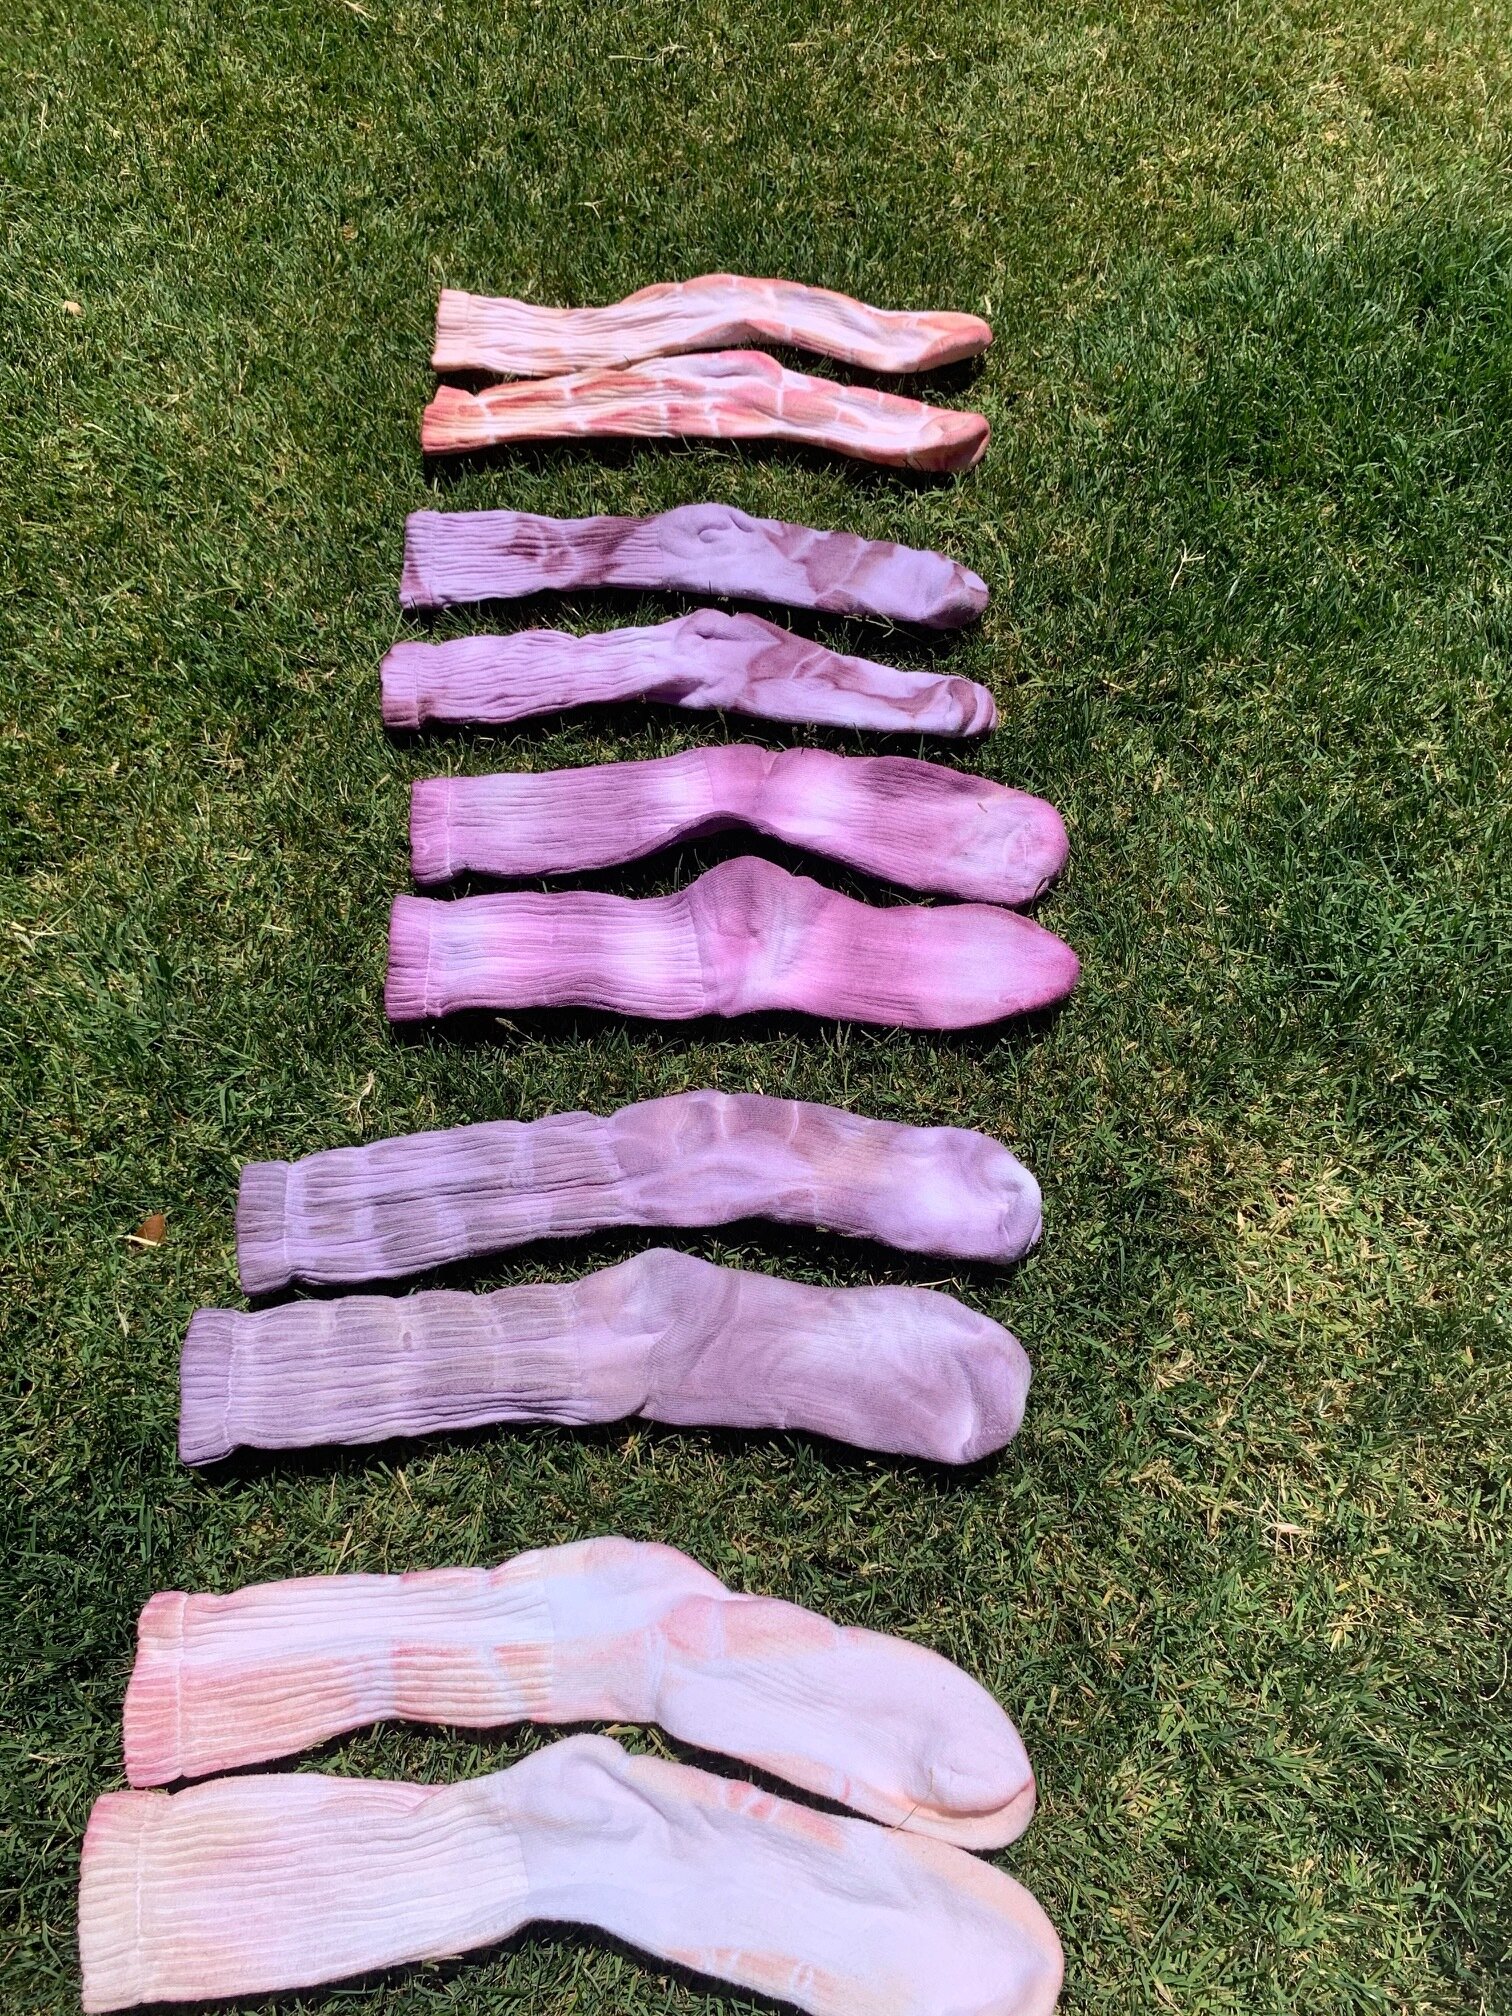
Overall, the natural dyes were quite a bit more work and the end products were more in the realm of pastel than bright like the store-bought kit. BUT if you like more muted colors and knowing that you’re not using anything harmful for the dyeing process, then this is a great project for you! :)
As we get started here, I think it’s only fair I tell you a non-secret secret: I’m not a tie-dye expert. I’ve done it a few times in my life, but most of my knowledge comes straight from good ol’ Google or this blog.
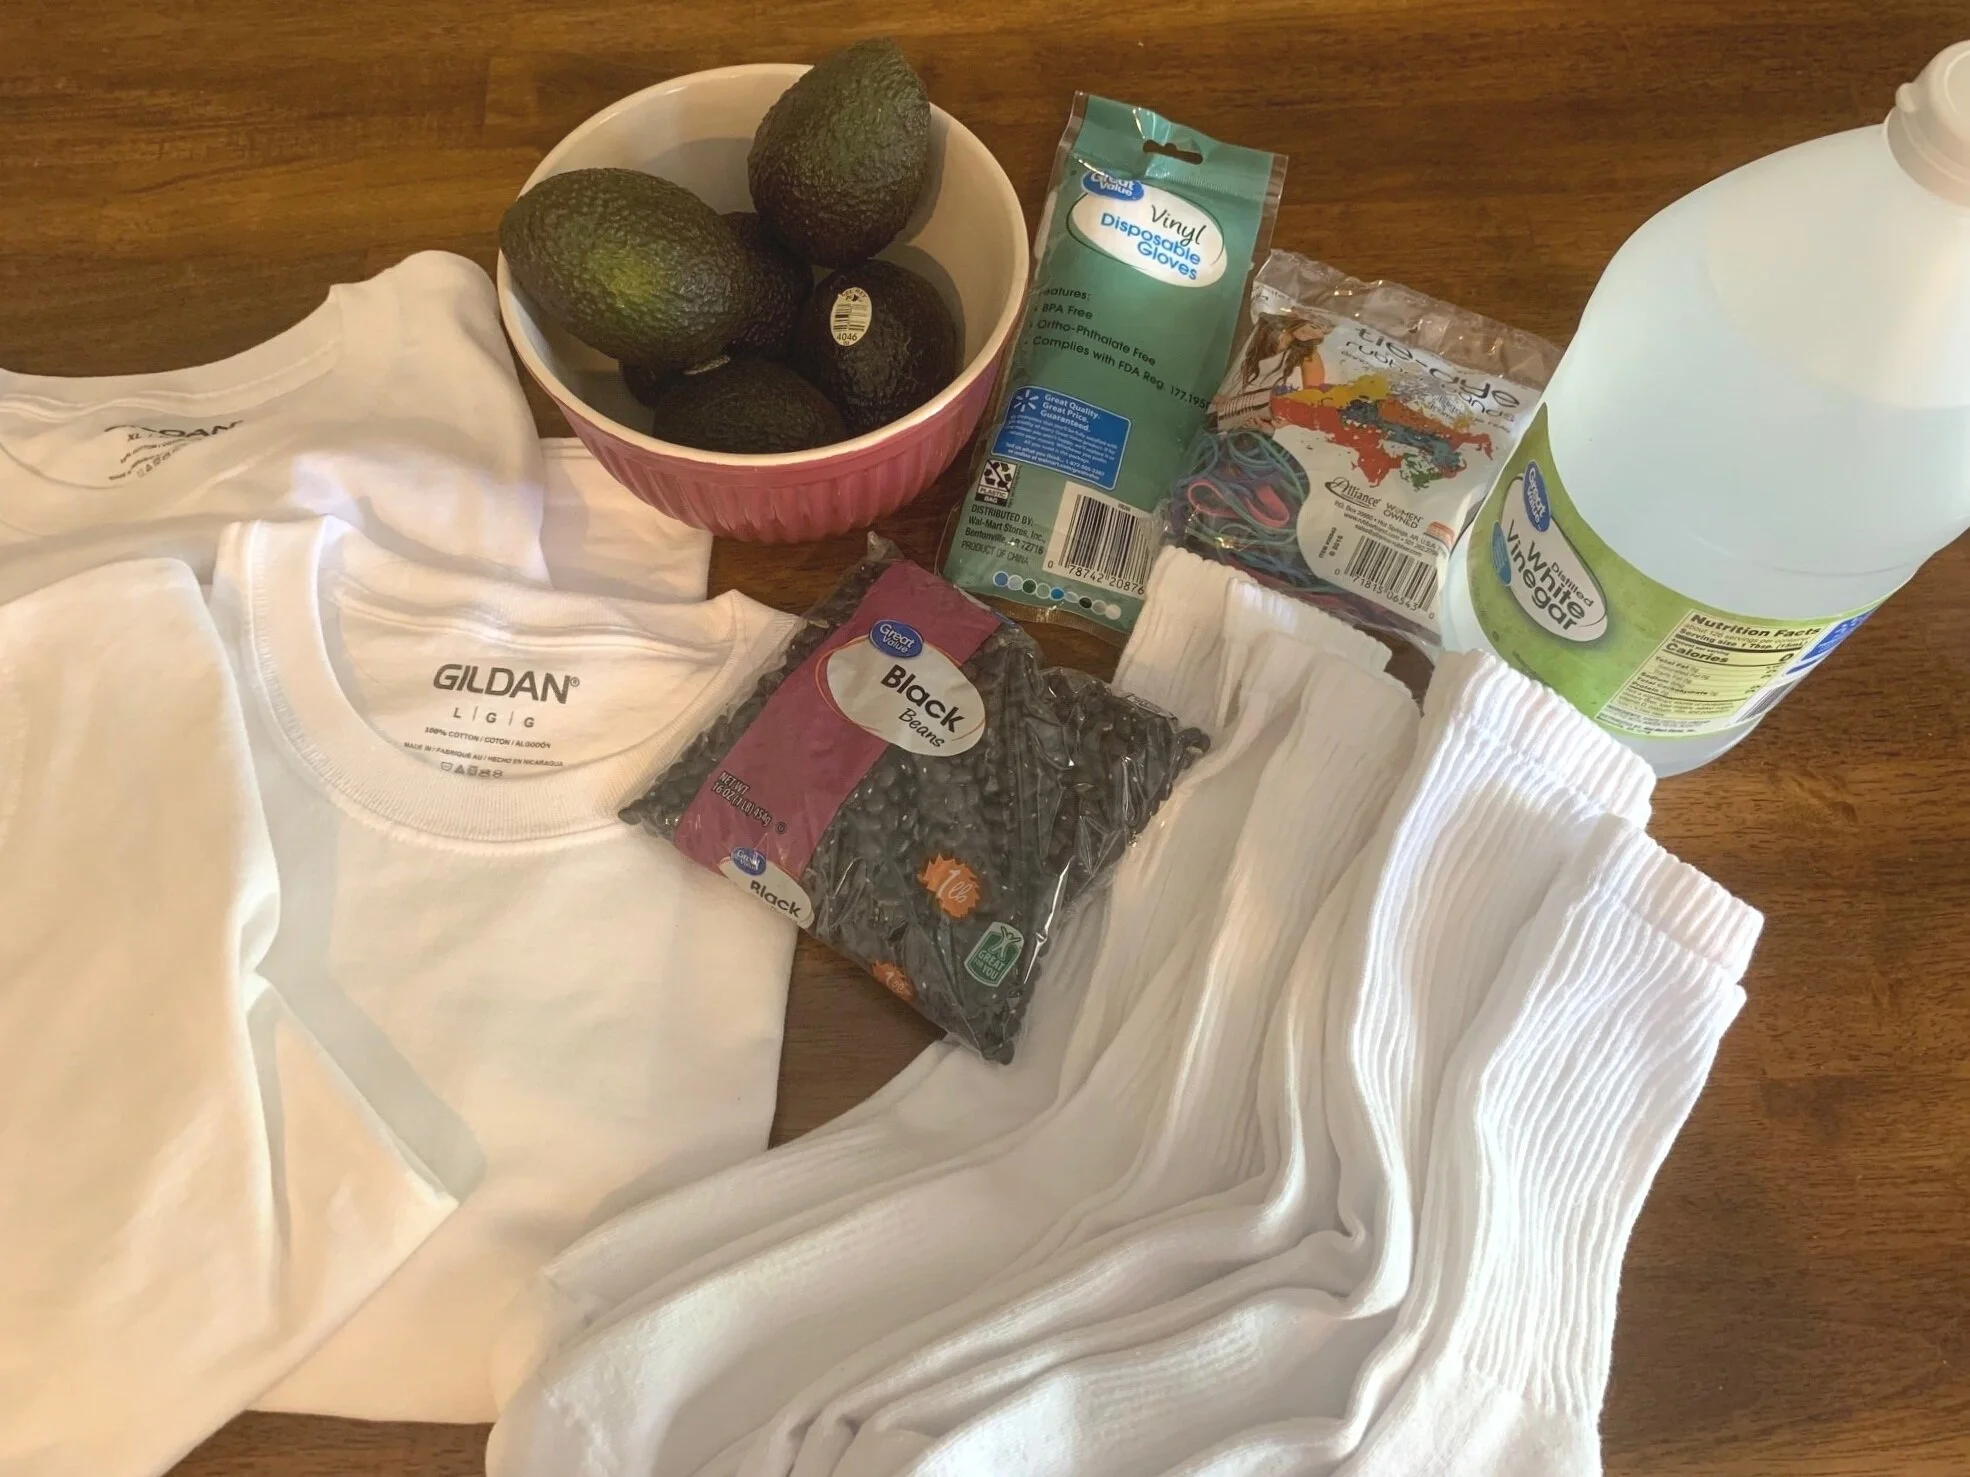
Supplies we used:
3 white cotton t-shirts
6 pairs of white cotton crew socks
distilled white vinegar
1 package of dried black beans (to create blue/purple dye)
3 avocado pits and skins (to create blush dye)
1 can of cooked beets (to create magenta dye)
various sized rubber bands
5-6 gallon sized ziploc bags
plastic gloves (optional)
Our tie-dye process
Making the dye: Our first step was prepping the dye, because this can be a loooong process, if you choose. We chose black beans to create a blue/purple hue, avocado pits + skins for blush pink and then canned beet juice for the magenta.
You’ll see in the photos that our black bean dye ended up being more on the purple side and the avocado dye ended up as a light peach color. Sidenote, all the dyeing pros say to use materials you don’t use for cooking, although we might’ve broken that rule. You can prep your dye the way I outline below, or even keep it simmering for a full day to make the dye more vibrant!Black beans: I emptied the black beans into a pot, covered them with water and brought them to a boil on the stovetop. I lowered the heat and let them simmer for about 3 hours, adding more water along the way to ensure the beans were always covered by about 2 inches of water.
Avocados: I peeled + pitted the avocados, cleaning the skins and pits really diligently to make sure there were no green bits left, since apparently that can cause the dye to turn a murky brown color (no thank you!). Then I put these in a pot, covered them with water and brought them to a boil. Eventually, I lowered the heat and let these simmer for about 3 hours. Like the black beans, I also tried to make sure these were covered by about 2 inches of water.
Beets: This one was easy peasy! Just drain the beet juice into its own container. Careful, though, this one is really bright and can easily stain.
Vinegar soak: Next, we took all the shirts and socks and soaked them in a water + vinegar mixture in a big bowl or plastic ziploc bags (we used 1 part water: 4 parts vinegar). These guys soaked for about 2 hours.
The goal of this step is to create a fixative for the natural dye so it sticks better to the fibers. You can learn more about that here.

3. Tying the clothes: Now comes the fun part! We used the rubber bands to tie up all the socks and shirts, making up the patterns as we went and just having a dandy time. You can keep it casual like we did, or look up some tie-dye patterns. Make sure to tie the bands really tight so the dye can’t get underneath!
4. Dyeing the clothes: Next, we put each clothing item in its own individual ziploc gallon-sized bag. Over the sink, we carefully poured dyes into the bags to make our creations come to life. Feel free to mix + match colors however you want! After reading some expert opinions, we let these dry overnight so the dye would really soak into the fabric.
Tip: The end result turned out to be quite a bit lighter than the color we saw as they soaked at this point, so don’t be afraid to go darker than you want it to be at the end.

Here we are holding our final tied and dyed bags of clothing, ready to soak overnight!
5. Taking out the bands and washing: Waiting overnight felt a teensy bit painful, but we were so glad we did! The next day, the dye had fully soaked into the fabric and we were really happy with how our patterns turned out. We laid out the clothes to dry in the sun before hosing them down. (You could totally put them in the washer instead, but I was worried it may stain and I also didn’t want to mix any of the colors.) I ended up doing a bit of dip-dyeing with the leftover dye on my shirt just for fun. Here’s how ours looked before getting wet:
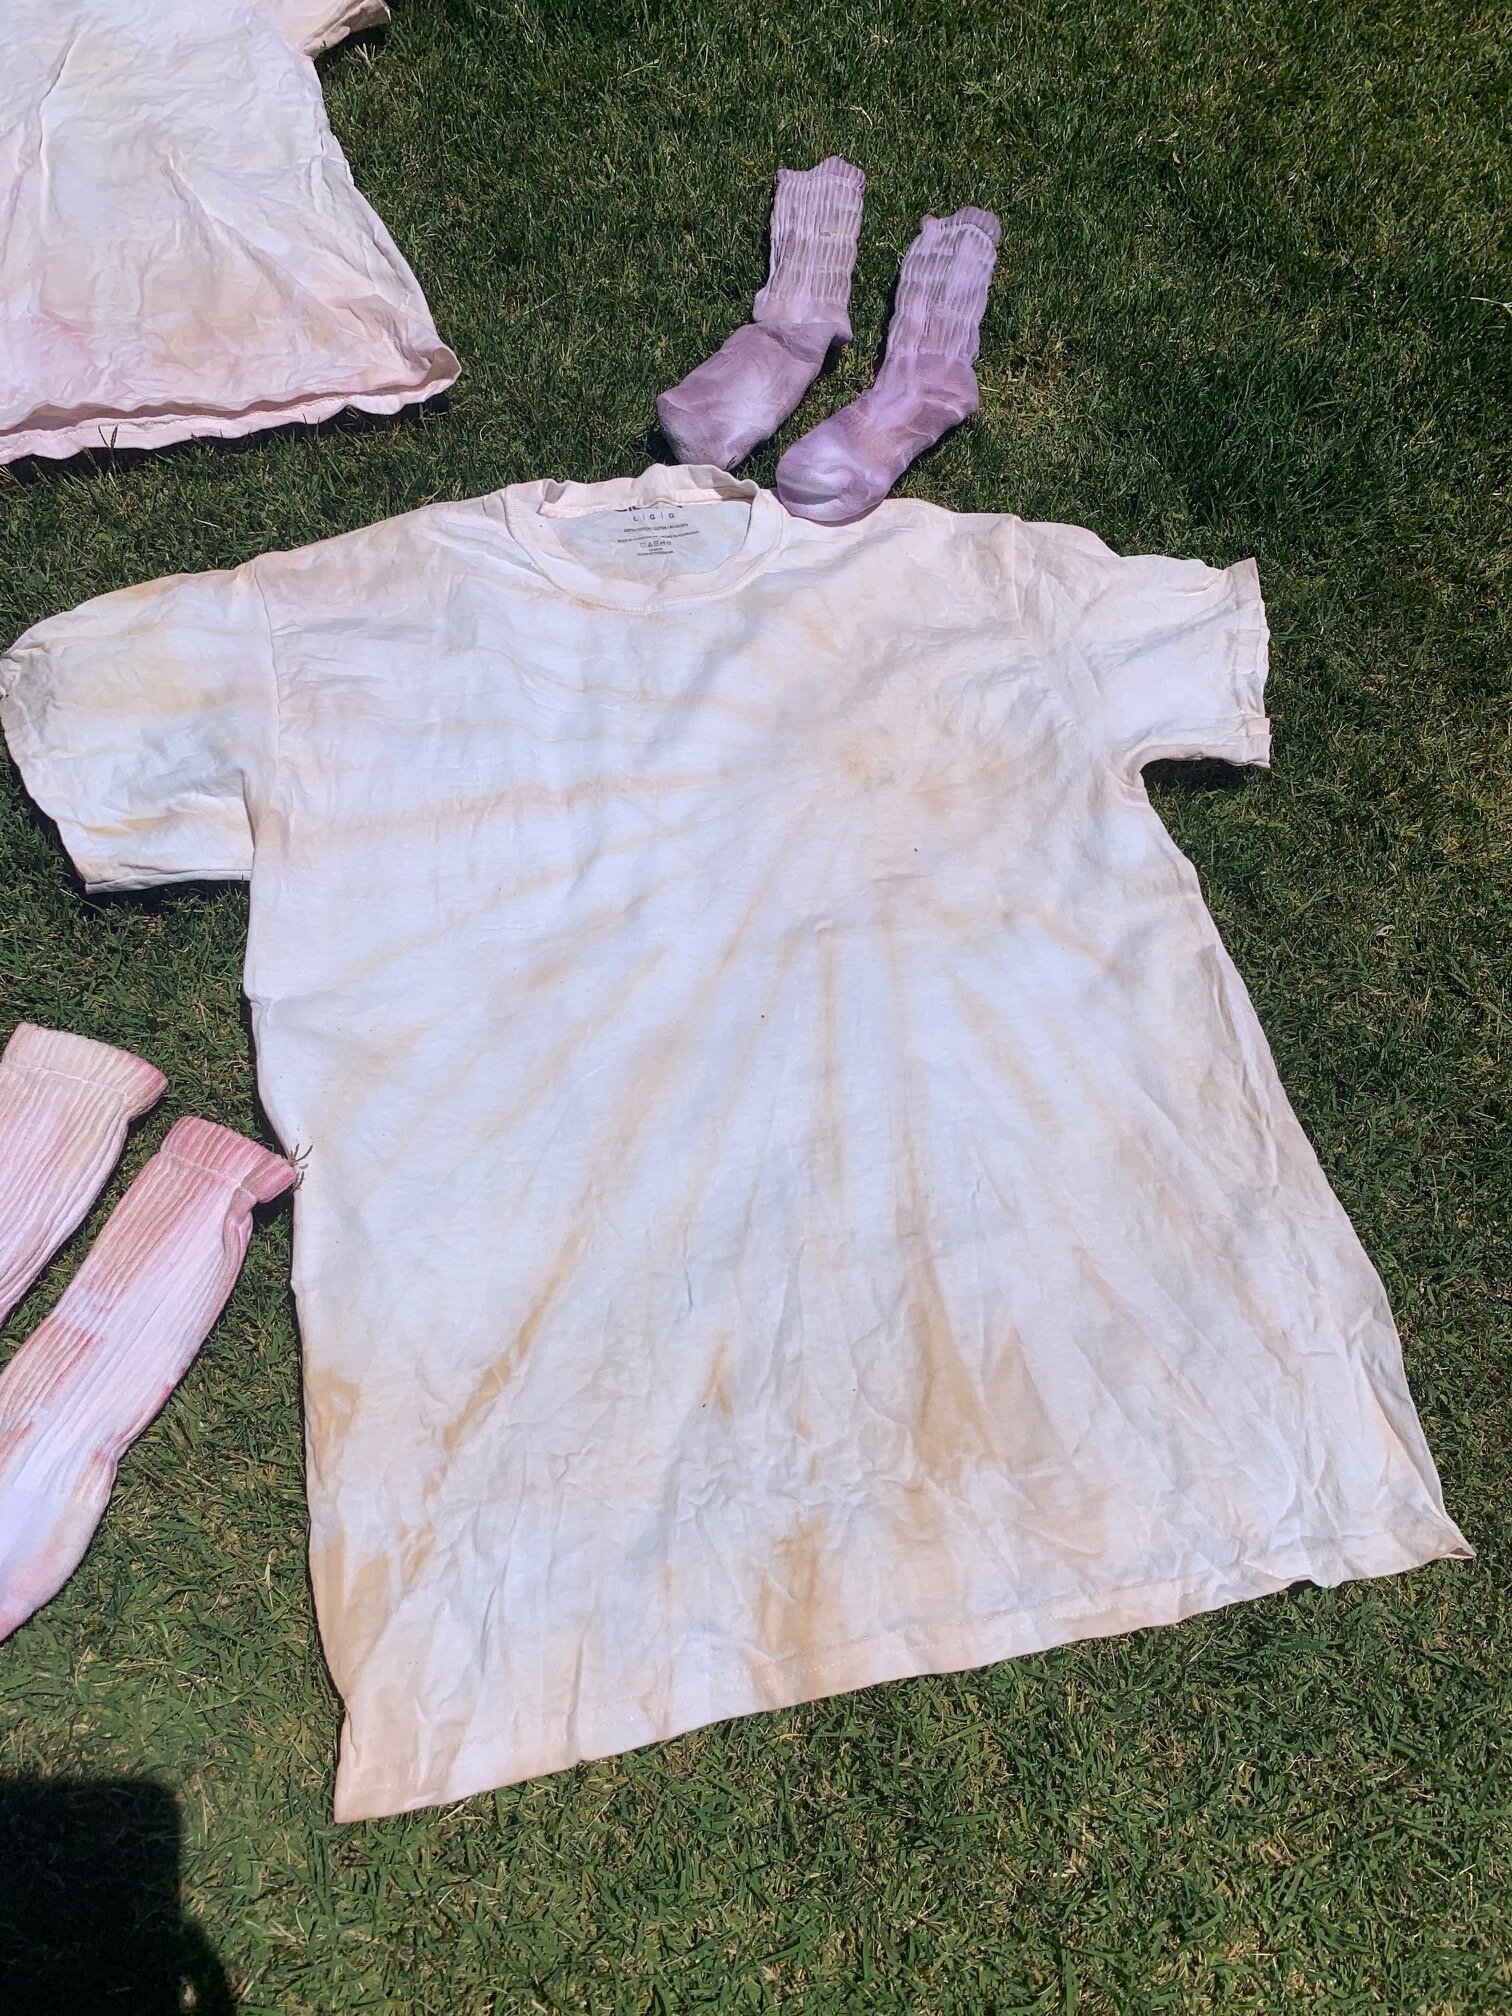


That’s it! Wear, wash + repeat! Our end products turned out a bit lighter than these photos even once they were washed + dried. I fully expect them to fade a bit more over the coming weeks, but I’m grateful we got to give it a try. Hope you have fun this summer trying tie-dyeing for yourself!
Have you tried natural tie-dye before? How did it go for you?
Laura Fooks considers herself a curator of people, content, joy and happiness. She’s the cofounder and CEO of Light Speaks Loudest, and loves spending her free time exploring Denver with her husband and goldendoodle pup. You can follow her on Instagram @lauramfooks.